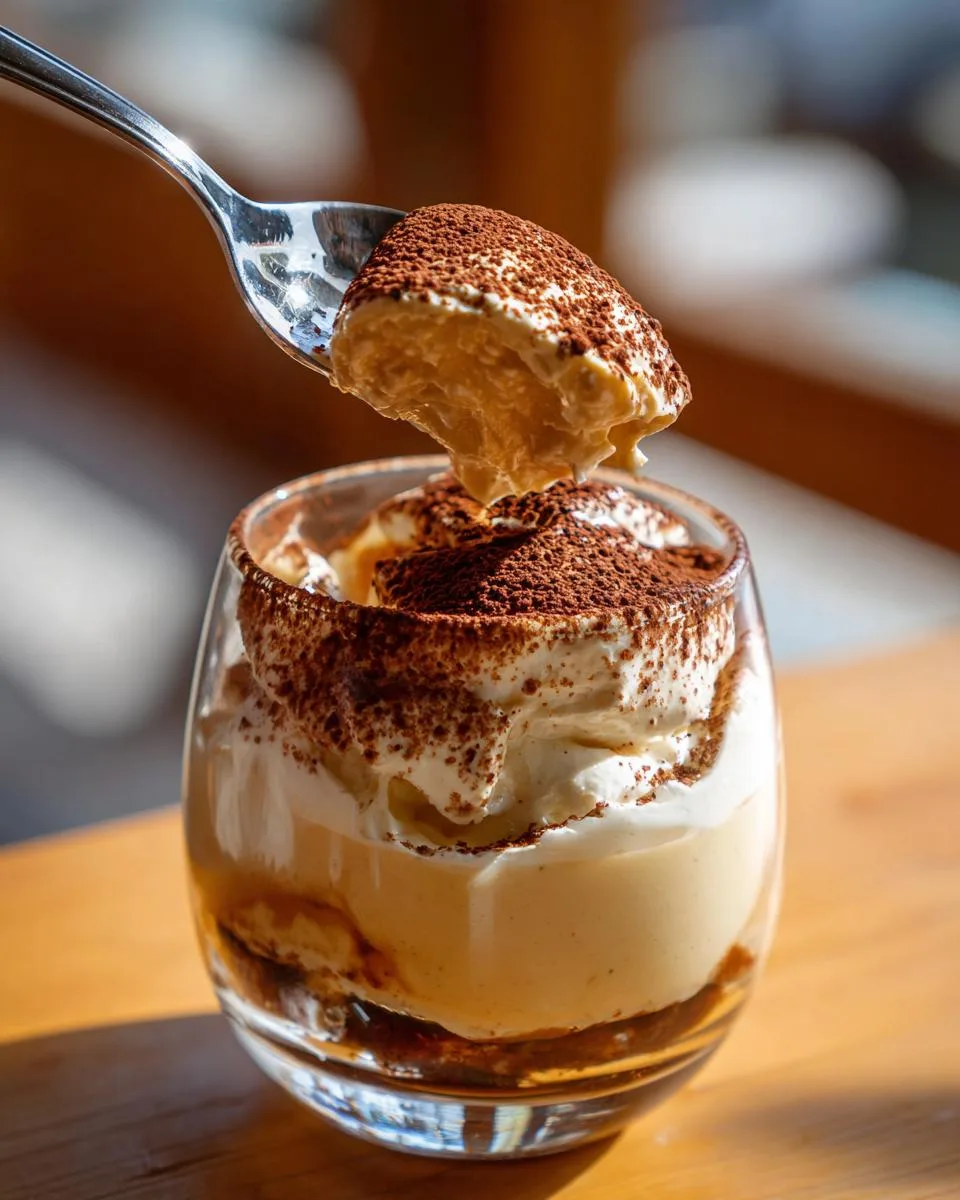

My boys and I were making a mess in the kitchen last Sunday! flour on the counter, espresso splashes everywhere! when I realized we’d turned a classic Italian dessert into something even simpler: Easy Tiramisu Cups. These little no-bake beauties give you that rich, creamy, coffee-soaked flavor you love from traditional tiramisu, but in minutes and in individual portions.
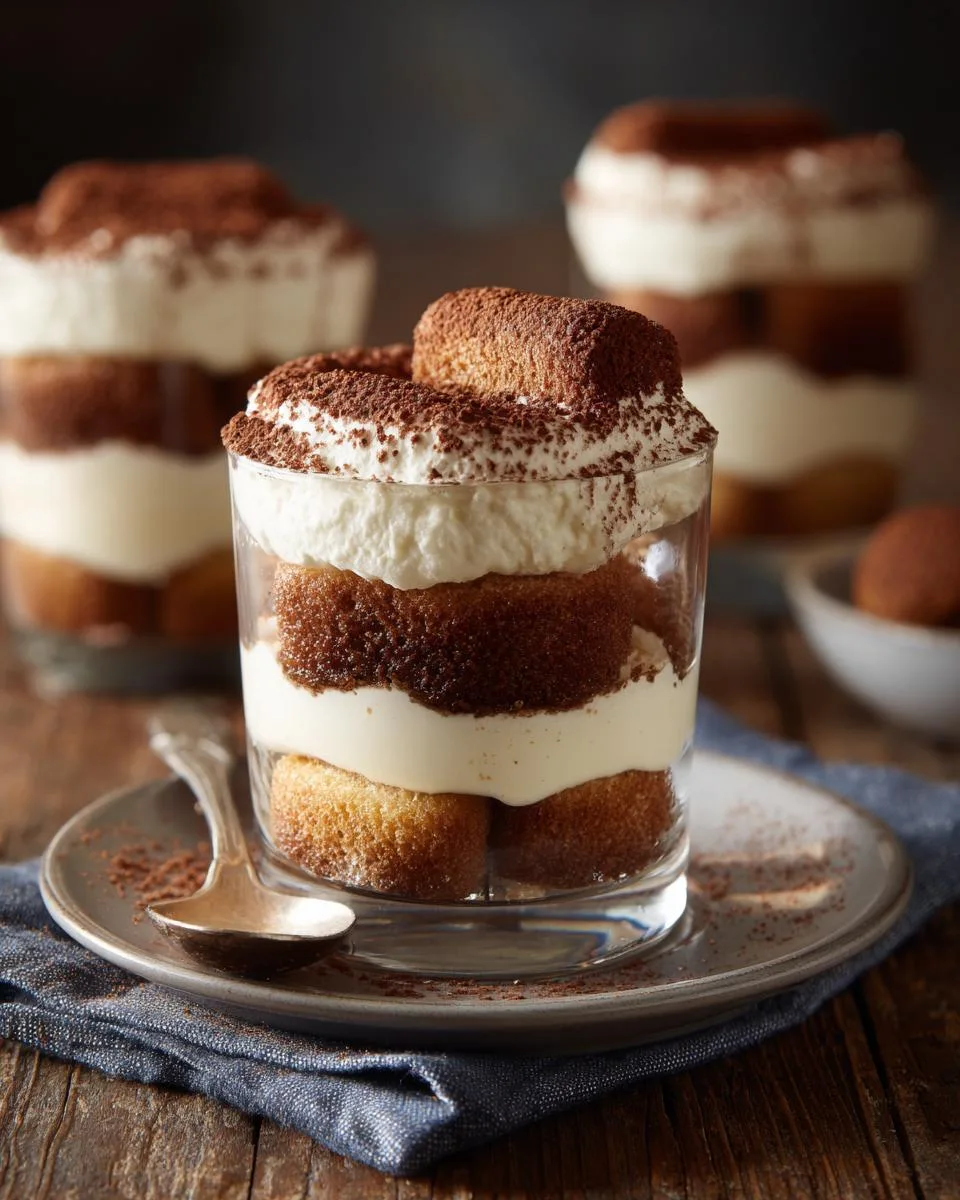
I remember my grandmother spending all afternoon on her giant pan of tiramisu, but now I can get that same magic in a fraction of the time. You don’t need an oven, a big dish, or any fancy skills. Just layer, chill, and watch your family swoon. It’s the kind of recipe that feels like a hug from Nonna, minus the hours of waiting.
Table of Contents
Table of Contents
Why You’ll Love These Easy Tiramisu Cups
I whip these up on chaotic weeknights and they disappear in seconds. Trust me, you’re going to adore how effortlessly they come together. Here’s the scoop:
- 20-minute prep, zero baking. You just dip, layer, and chill while the kitchen stays cool.
- Pantry-friendly ingredients. Mascarpone, heavy cream, coffee! nothing fancy, just pure flavor.
- Rich espresso taste in every bite. The coffee seeps into the ladyfingers and balances that luscious cream perfectly.
- Individual portions, no sharing drama. Everyone gets their own cute cup, which makes parties a breeze.
- Silky mascarpone magic. That creamy texture feels indulgent but comes together in under a minute.
Ingredients for Easy Tiramisu Cups
I can’t tell you how many times I’ve dashed to the store for a tub of mascarpone, only to realize the rest of the ingredients were already hanging out in my kitchen. That’s the beauty of these easy tiramisu cups: they lean on a handful of humble staples. Start with a few key rules and you’ll nail it every single time.
- 1 cup cold heavy cream
- 8 ounces mascarpone cheese, softened at room temperature
- 1/3 cup granulated sugar
- 1 teaspoon vanilla extract
- 1 cup strong brewed coffee or espresso, cooled to room temperature
- 2 tablespoons coffee liqueur (optional, I love Kahlúa)
- 12 crisp Italian ladyfinger biscuits (savoiardi style, not soft cake—about 3 ounces or 85 grams)
- Unsweetened cocoa powder, for dusting
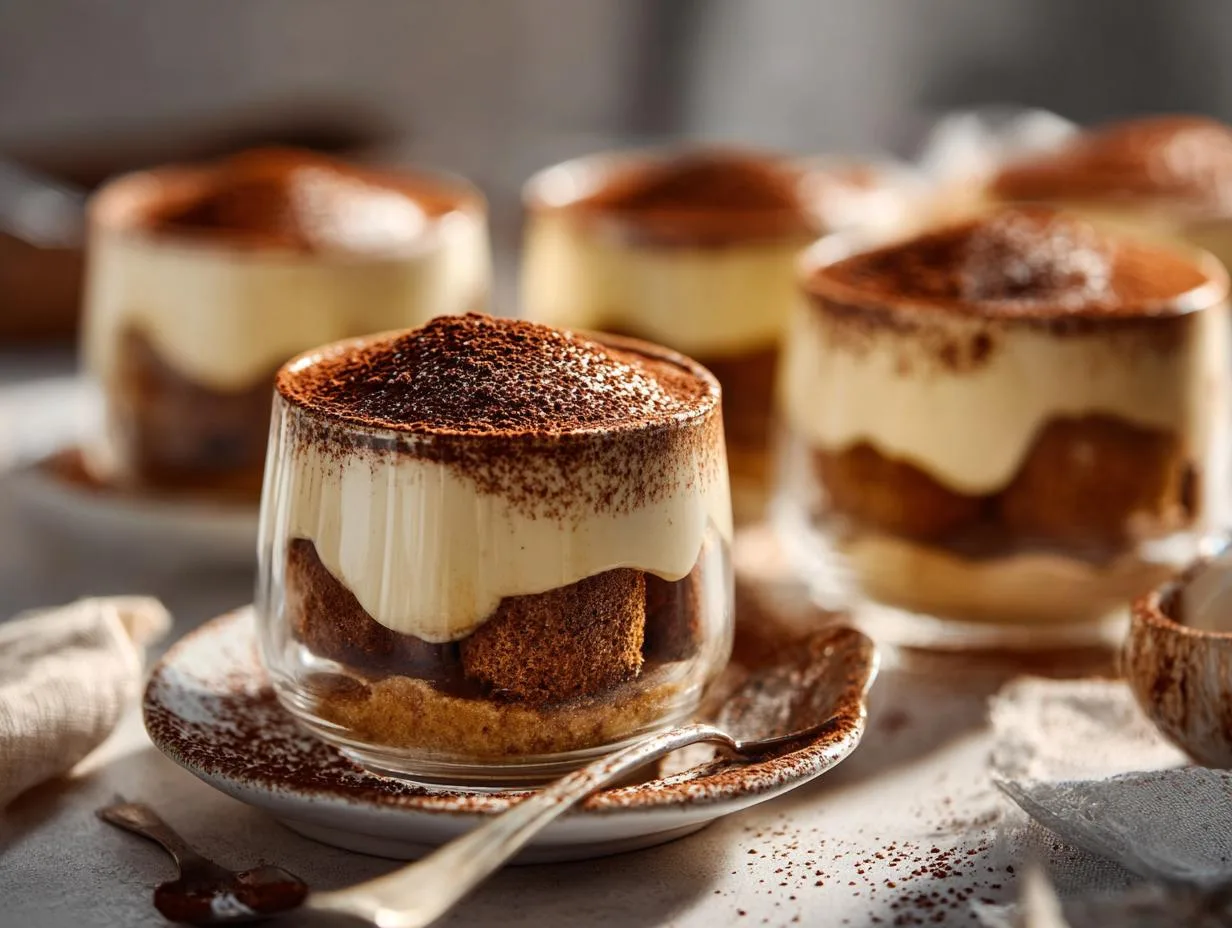
Let the mascarpone sit on the counter while you get everything else ready so it softens nicely; it’s a breeze to beat that way. The ladyfingers are crucial! you want the dry, crunchy kind that soak up coffee without turning to mush. And please, keep your heavy cream icy cold. Warm cream whips into sad little puddles, and nobody wants that in their tiramisu.
How to Prepare Easy Tiramisu Cups
Grab your serving cups and let’s turn those simple ingredients into little clouds of coffee-kissed bliss. I promise it’s easier than you think, and a little mess just means you’re having fun. Here’s my tried-and-true rhythm.
First, pour that cold heavy cream into a medium bowl and whip it with an electric mixer until stiff peaks stand up tall! this takes about 3 to 4 minutes. You’ll see the cream go from liquid to pillowy and then hold its shape when you lift the beaters. Set it aside, but don’t let it sit too long or you’ll lose some air.
In a separate bowl, beat the softened mascarpone, sugar, and vanilla together until everything’s smooth and silky. That’s only about a minute with the mixer on medium speed. Don’t overwork it or the mascarpone can get grainy. Now, gently fold the whipped cream into the mascarpone mixture. Use a rubber spatula and cut through the center, scooping from the bottom, until no white streaks remain. This folding keeps all that lovely lightness, so take your time.
Now for the coffee bath. Combine the cooled coffee and coffee liqueur (if using) in a shallow dish. Quickly dip one ladyfinger into the mixture for no more than 2 to 3 seconds! just a quick dunk, not a soak. If you let it linger, it’ll disintegrate into a soggy mess. (Oops! If one falls apart, just scoop it up with a spoon and pat it into the cup later! no one will know.) Break each dipped ladyfinger as needed to create a snug, single layer at the bottom of your serving cups.
Spoon a generous layer of the mascarpone cream over the ladyfingers, spreading it to the edges. Repeat with another layer of dipped ladyfingers and cream, finishing with the cream on top. Dust the surface lavishly with cocoa powder! go ahead, make it look dramatic. Pop the cups into the fridge for at least 2 hours, though overnight is even better. That chill time is non-negotiable; it transforms the layers into one velvety, harmonious bite. Then you’re ready to serve and soak up the compliments.
Print
Easy Tiramisu Cups: 20-Min Creamy Bliss
- Prep Time: 20 minutes
- Cook Time: 0 minutes
- Total Time: 2 hours 20 minutes
- Yield: 4 servings 1x
- Category: Dessert
- Method: No-bake
- Cuisine: Italian
- Diet: Vegetarian
Description
You can whip up these easy tiramisu cups in minutes. Layers of coffee-soaked ladyfingers and creamy mascarpone make a delightful no-bake dessert.
Ingredients
- 1 cup heavy cream
- 8 ounces mascarpone cheese, softened
- 1/3 cup granulated sugar
- 1 teaspoon vanilla extract
- 1 cup strong brewed coffee or espresso, cooled
- 2 tablespoons coffee liqueur (optional)
- 12 ladyfinger biscuits
- Unsweetened cocoa powder, for dusting
Instructions
- Whip the heavy cream in a bowl until stiff peaks form.
- In another bowl, beat the mascarpone, sugar, and vanilla until smooth.
- Fold the whipped cream into the mascarpone mixture gently until combined.
- Combine the cooled coffee and coffee liqueur in a shallow dish.
- Dip each ladyfinger into the coffee mixture for 2-3 seconds. Do not soak them too long.
- Break the dipped ladyfingers to fit the bottom of your serving cups. Create a single layer.
- Spoon a layer of the mascarpone cream over the ladyfingers.
- Repeat with another layer of dipped ladyfingers and cream.
- Dust the top generously with cocoa powder.
- Refrigerate for at least 2 hours before serving to let the flavors meld.
Notes
- Use cold heavy cream for easier whipping.
- For a non-alcoholic version, skip the liqueur.
- You can prepare these cups a day ahead. The flavors improve overnight.
Nutrition
- Serving Size: 1 cup
- Calories: 450
- Sugar: 22g
- Sodium: 120mg
- Fat: 32g
- Saturated Fat: 19g
- Unsaturated Fat: 10g
- Trans Fat: 0g
- Carbohydrates: 34g
- Fiber: 0.5g
- Protein: 6g
- Cholesterol: 105mg
Tips and Variations for Easy Tiramisu Cups
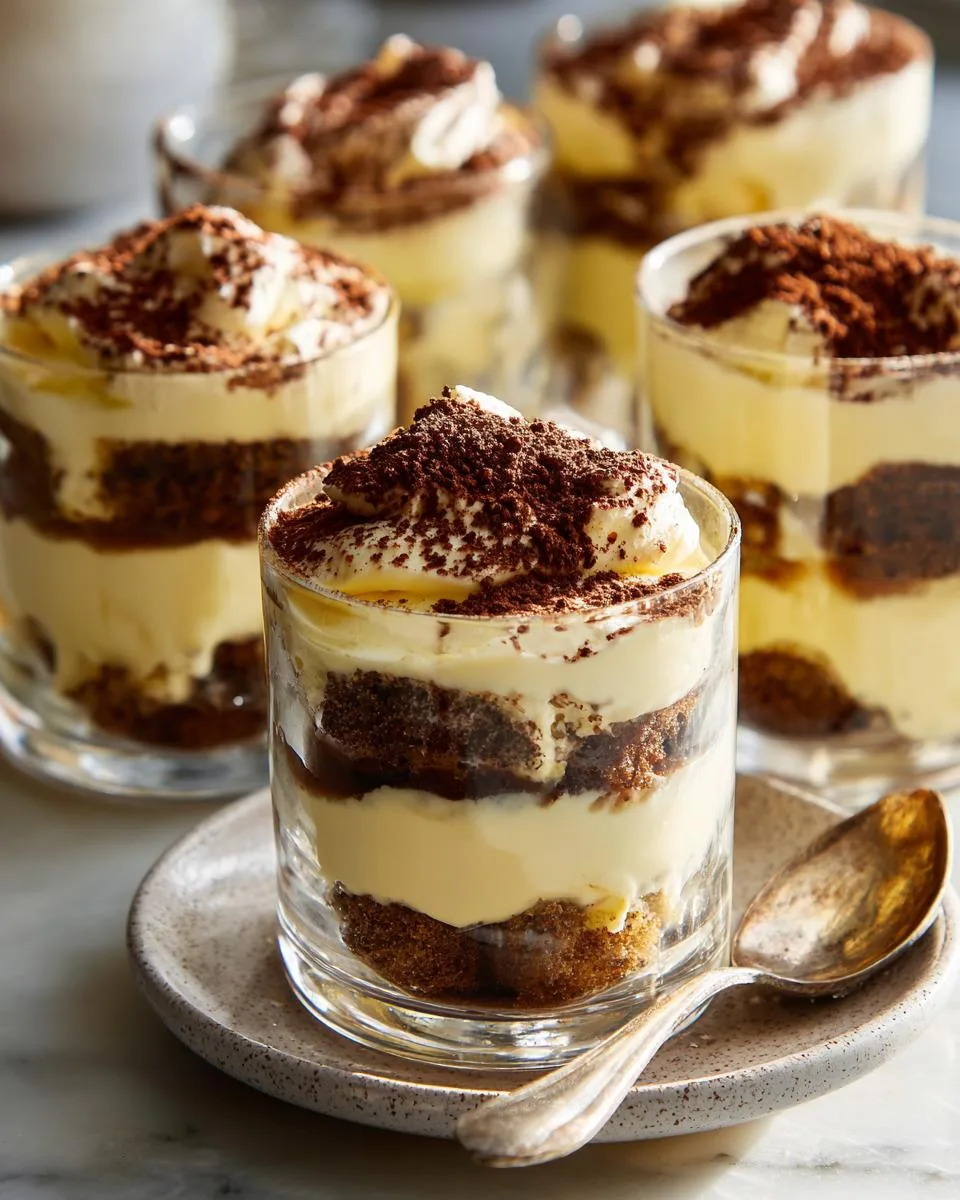
I’ve churned out these cups more times than I can count, and a few little secrets keep them consistently creamy and coffee-kissed. Start with cold heavy cream—it whips into stiff peaks so much faster and holds that cloud-like texture. You’ll also thank yourself for dipping the ladyfingers with lightning speed; literally 2 seconds in the coffee bath prevents a soggy mess. And please, let those cups hang out in the fridge overnight if you can. The coffee seeps deeper, the mascarpone settles into silk, and the flavor just gets richer. Now, don’t be shy about playing around. For a family-friendly version, skip the coffee liqueur entirely—no one misses it. If caffeine isn’t your thing, swap in decaf espresso. Feeling fancy? A fine dusting of grated dark chocolate between layers makes the whole thing extra indulgent. Even swapping the ladyfingers for buttery pound cake works like a charm, just dunk it for a blink and you’re golden. These tiny tweaks mean you can make this dessert fit any mood or dietary need without losing that beloved tiramisu soul.
Tips for Perfect Cups
My best advice comes from the little hiccups I’ve had along the way. Keep your heavy cream fridge-cold right up until you whip it—warm cream equals sad, flat layers. Dip those ladyfingers in the coffee for only 2 seconds, just a quick in-and-out; they’ll keep absorbing moisture as they sit, so trust the process. Always let your mascarpone soften at room temperature so it blends without lumps. And never skip the full 2-hour chill (overnight is glorious). That patience really rewards you with a cohesive, melt-in-your-mouth texture.
Variations
Switch things up with these easy twists. For a totally alcohol-free treat, just add a splash of vanilla extract to the coffee in place of liqueur; it keeps the flavor bright. If you’re a chocolate devotee, layer in a sprinkle of finely grated dark chocolate between the cream and ladyfingers—the bitterness cuts through the sweetness perfectly. For a summery spin, tuck a few fresh raspberries on top of the mascarpone layer before adding the next biscuit; they add a juicy pop that surprises everyone. Each swap keeps the tiramisu spirit totally intact.
Serving and Storage for Easy Tiramisu Cups
I pull these chilled cups straight from the fridge and watch everyone’s eyes light up. They’re perfect as is, but a scatter of fresh berries on the side—raspberries or strawberries—adds a bright little pop against the creamy espresso layers. You can also shower a little extra cocoa right before serving, because that first whiff is pure heaven. No reheating needed (obviously, it’s a no-bake dessert!), just grab a spoon and dive in. To store any leftovers, cover each cup tightly with plastic wrap or pop on a lid and slide them back into the refrigerator. They’ll stay luscious for up to 2 days; after that the ladyfingers start getting too soft for my liking. Whatever you do, don’t freeze these beauties—mascarpone gets grainy and weepy when thawed, and you’ll lose that silky texture we worked so hard for.
Serving Suggestions
Keep it simple and let those tiramisu cups shine. I love setting out a bowl of fresh raspberries for a juicy contrast, or a tiny pitcher of warm espresso on the side for coffee purists. For a festive touch, add a light snowfall of powdered sugar right before you hand them over—it makes every cup feel extra special.
Storage Instructions
Wrap each cup snugly with plastic wrap or use airtight lids, then tuck them into the fridge. They taste best within 2 days, so dig in while the layers are perfectly tender but still hold their shape. Don’t freeze them—the creamy mascarpone will separate and turn watery, and trust me, no one wants a weepy tiramisu.
Nutritional Information for Easy Tiramisu Cups
I’m not one to obsess over numbers when there’s tiramisu involved, but here’s a rough snapshot per cup. Each serving (1 cup) clocks in around 450 calories, with 32g of fat (19g saturated, 10g unsaturated, 0g trans), 34g of carbohydrates, 0.5g of fiber, 22g of sugar, and 6g of protein. You’ll also get about 105mg of cholesterol and 120mg of sodium. Keep in mind this is just an estimate—different brands of mascarpone, the type of ladyfingers you grab, or whether you add liqueur can shift things around. If you need exact numbers, plug your specific ingredients into a calculator, but for me, this is close enough to enjoy without overthinking.
Frequently Asked Questions About Easy Tiramisu Cups
I get so many excited messages about these little cups, and I love answering every single one. Here are the questions that pop up most often, answered just like I’d tell you over coffee.
Can I make Easy Tiramisu Cups ahead of time?
Absolutely! In fact, I encourage it. Assemble your individual tiramisu cups, cover them, and refrigerate for up to 24 hours. The coffee soaks deeper into the ladyfingers and the mascarpone cream gets even silkier overnight. This no-bake dessert truly shines with a little patience.
Can I make Easy Tiramisu Cups without alcohol?
Yes, you can easily skip the coffee liqueur for a family-friendly version. Just use the plain cooled coffee or add a splash of vanilla extract to the coffee mixture. Your quick tiramisu will still taste wonderfully rich.
What can I use instead of ladyfingers in Easy Tiramisu Cups?
You can swap in pound cake, sponge cake, or even vanilla wafers if you’re in a pinch. Just dip them briefly in the coffee—only a second or two—so they hold their shape. Each option still gives you that lovely layered treat.
How long do Easy Tiramisu Cups last in the fridge?
Cover your cups tightly with plastic wrap or lids and refrigerate them for up to 2 days. The texture is creamiest during that window. Don’t freeze them—the mascarpone will turn grainy and watery when thawed, and you’ll lose that dreamy softness.
Share Your Easy Tiramisu Cups Creation
I’d absolutely love to see your beautiful tiramisu cups! Drop a comment below and tell me how they turned out—did you add your own little twist? Snap a photo and tag me on social media so I can cheer you on from my kitchen. Don’t forget to give this recipe a star rating; it helps other home cooks find these no-bake gems too. You can find more inspiration on my Pinterest.